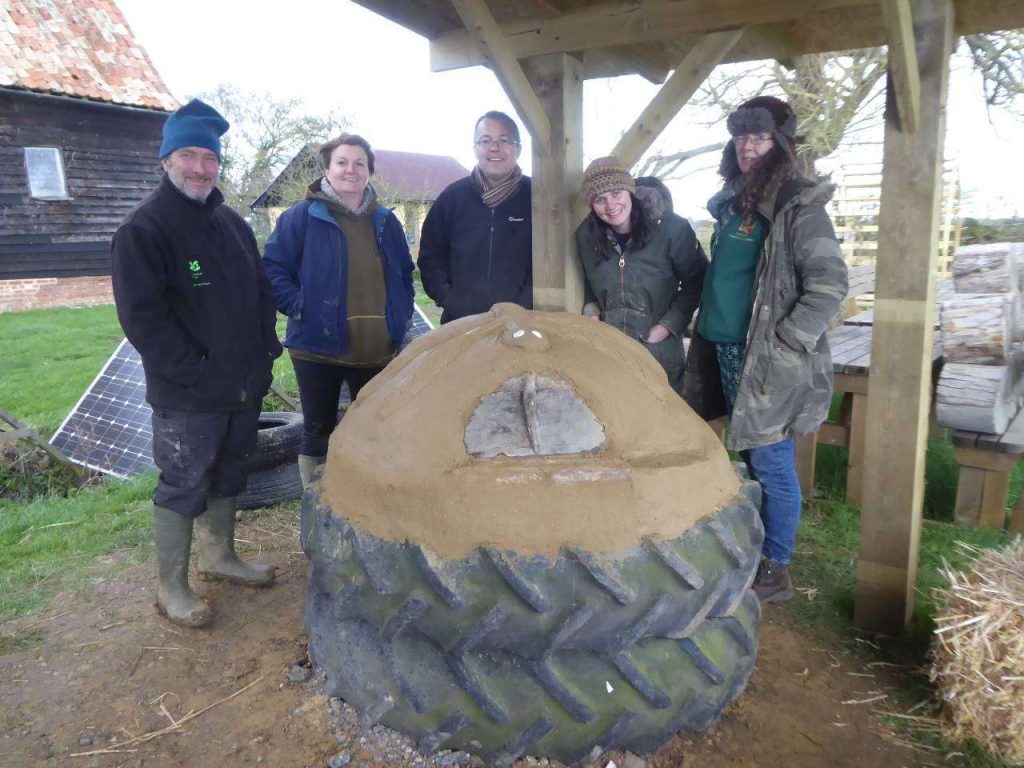
A couple of weeks ago we were lucky enough to welcome back Sarah Partridge from Orchard Barn Environmental Education Centre. Back in 2014 Sarah led a building with cob workshop that resulted in our first lovely pizza oven.
This oven had been much loved and well used, but it was now showing its age and it was time for a replacement. So on Sunday 17th March four course attendees, Sarah and I set about building a new cob masterpiece.
The brilliant thing about building with earth is that it is an environmentally friendly, recyclable and free material. It is all around us, and all that is required is some experimentation on our part and a willingness to get our hands dirty. The key thing is knowing what is going on in the soil in your particular plot.
Here is a description of what we got up to on the day; hopefully it will inspire you to have a go at building with the materials in your own garden. I can highly recommend building with a group of friends as it is a lot of fun and many hands really do make the work lighter. If you have a project in mind do get in touch with Sarah too, as she is a fabulous tutor and always keen to help new earth buildings take shape – Orchard Barn.
Materials
For the base – tyres, earth, glass bottles, storage heater bricks, sand, cob mix (see below)
For the oven – sand, newspaper, water, cob mix (see below), clay, oven door (we used wood backed with tin)
Cob mix – straw, hoggin (gritty earth), clay, water
General kit – tarpaulin, buckets, spade, wellie boots, gloves, garden seive, trowel
A base for our oven
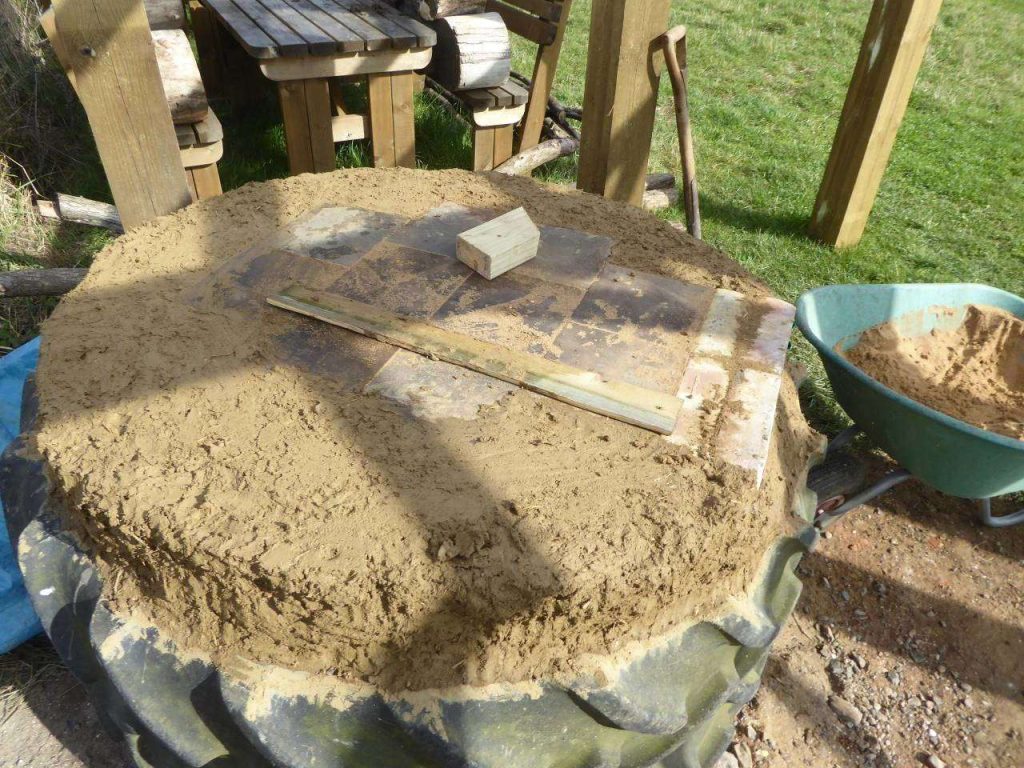
storage heater bricks set in a cob layer 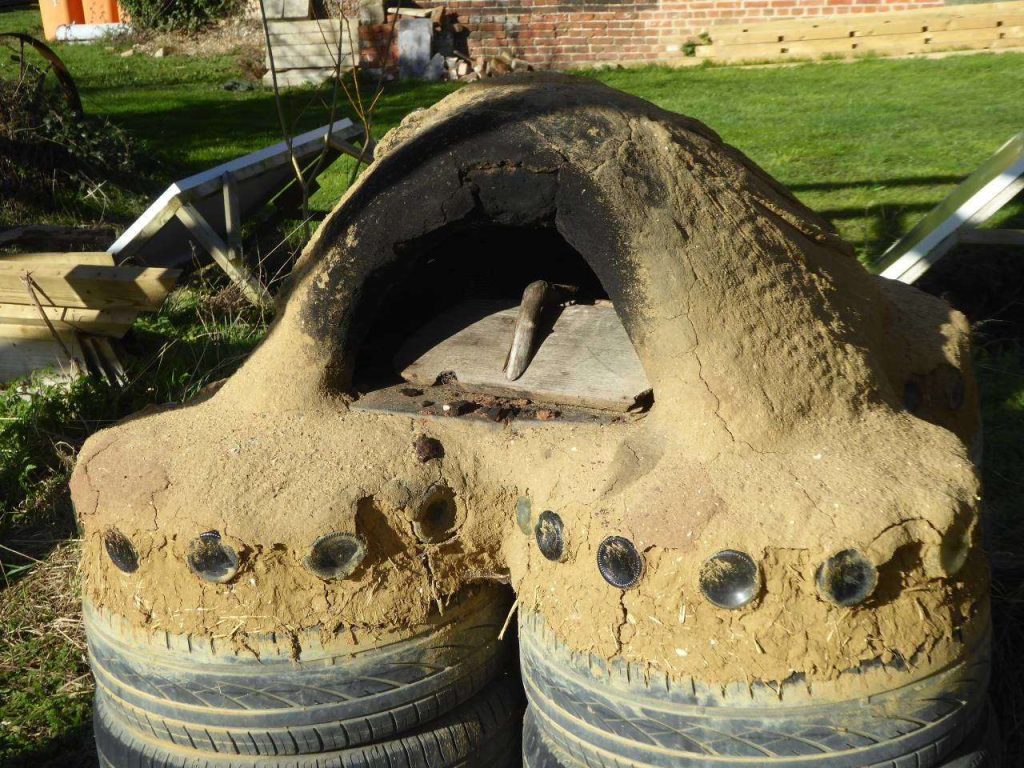
old oven with four car tyre
towers as a base
A couple of weeks before we planned to build the oven, we knew that we needed to prepare a base. The base provides the working height that you need for your oven and also the flat cooking surface. Tyres compacted with earth had worked well for us before so we decided to use this method again. This time though we used two large tractor tyres, one on top of the other, rather than the smaller car tyres. We could create a larger cooking surface this way. We filled the tyre stack with earth and glass bottles. The glass bottles help to provide insulation for the tyres against the heat. We were able to recycle the earth and bottles from the original oven which was an added bonus.
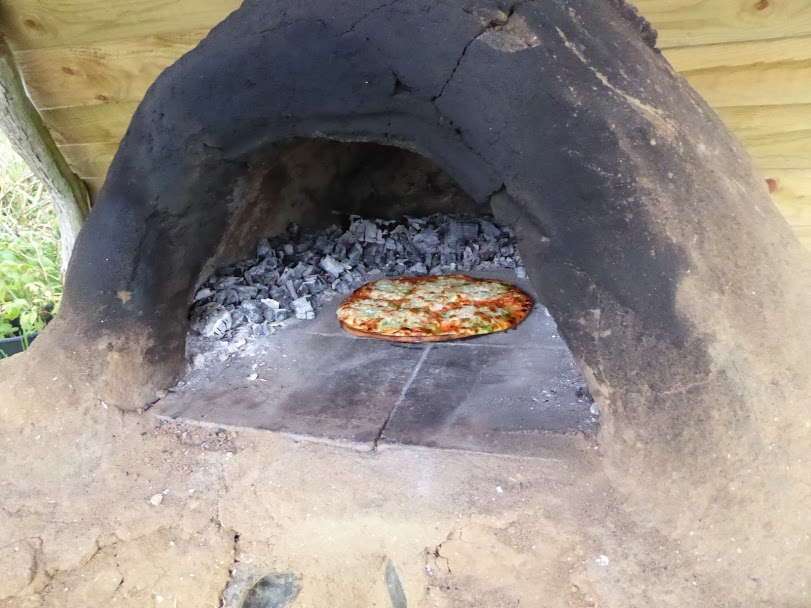
We were also able to recycle the sand that we had used as a top layer to bed in our cooking surface. The pizzas are cooked using transferred heat from, in our case, storage heater bricks. The bricks take up the heat from the fire that burns on top of them and then, when the hot coals are pushed to the side, the pizzas cook on top of the hot bricks inside the closed oven. Storage heater bricks are not too hard to come by, but look for bricks with flat surfaces if you can find them. The bricks are laid on the earth and bottles at the top of the tyre stack and are then surrounded with sand to create an even flat surface across the top of the tyres.
To keep the sand in place we used a cob mixture to create a wall around the tyre edge. Once the sand and bricks were in place within the cob wall we then covered the top surface with more cob up to the edge of the brick ‘hot plate’. We were able to reconstitute the broken cob peices of the original oven by adding water so no new cob was needed at this point. The base was then left to dry until we were ready to build the oven.
It is important to have a base that can take the weight of your earth oven. You can use a variety of materials to create it. Sarah, very successfully, builds her bases with flints.
Forming the shape of your oven
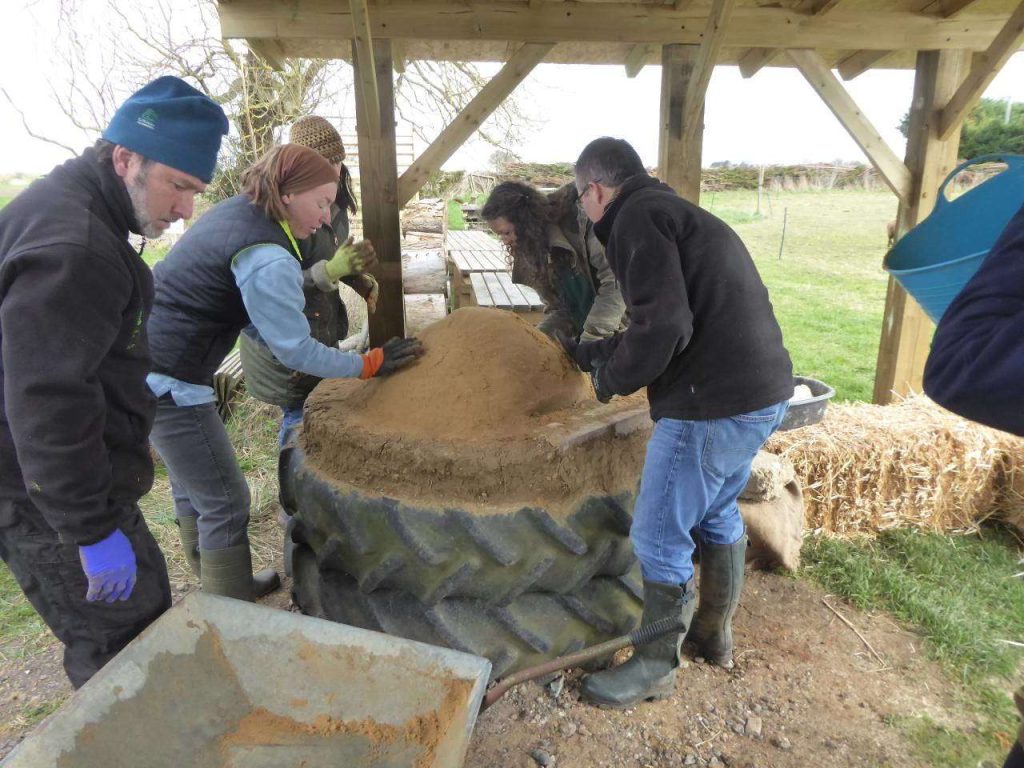
the shape of the oven being formed with wet sand 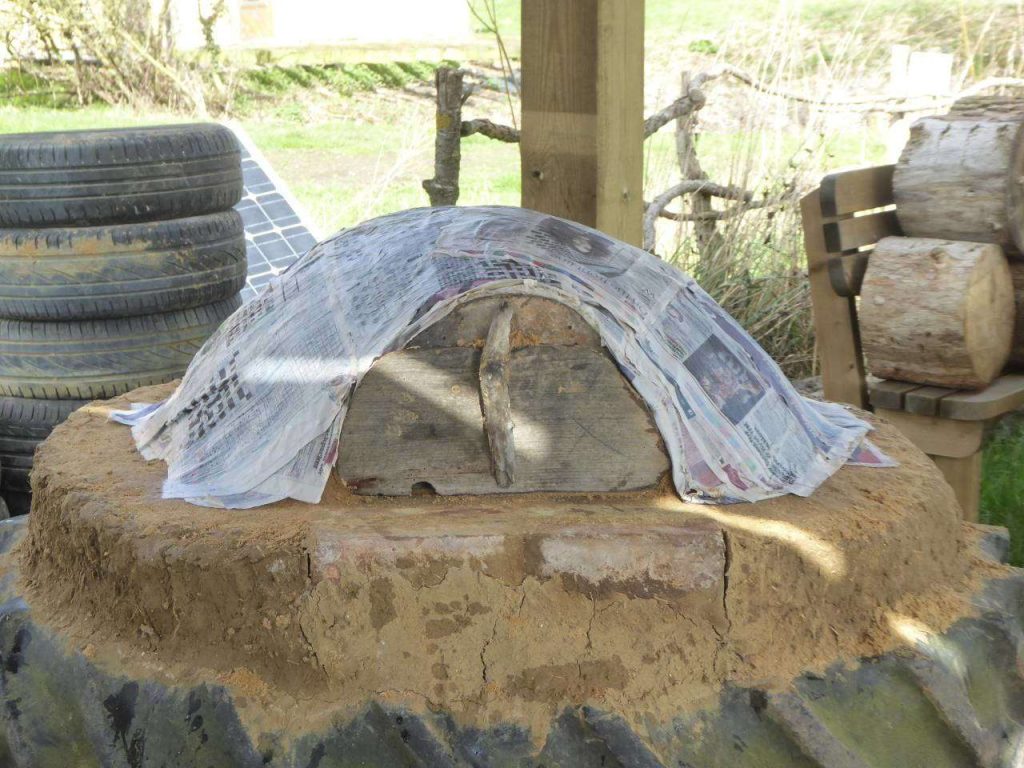
wet newspaper added over the sand
Now that you have your base you can create the shape of your oven. The easiest way to do this is to build a former using wet sand. The cob mixture will then be worked over the top of the sand former. The sand can be removed when the cob oven has fully dried. Once you have created your oven shape cover the sand with wet newspaper. This creates a barrier between the sand and the cob. The newspaper layer will burn away when you first fire up the oven.
We cook one pizza at a time in the oven as they only take about a minute to cook. The tractor tyres give us enough surface space for one pizza and some space around the edge to move the hot coals to one side. We should be able to have one area heating, one area cooking a pizza and one area free inside the oven. You don’t need to give too much height to your oven and it should end up as a gently curved dome. A rough rule of thumb is that the height of the door should be about 2/3rds of the highest point of the inside of the oven. We have chosen not to add a chimney as the previous oven worked well without one. Although it provides a more reliable ‘draw’ to a fire, a chimney can carry sparks up and out of the oven; we have a wooden roof over ours, and want to avoid setting fire to it! A chimney is also a more complicated build, and it really isn’t necessary for the average home pizza oven.
Adding a doorway
At this point it is a good idea to decide the position and width of your doorway. We cook our pizzas directly on the bricks, but if you want to use oven trays it is worth measuring them first before you make your door. If you make your door first you can place it in position and then build up your cob layer to meet its edge. This way you achieve a good seal which prevents heat escaping when the door is in place and the pizzas are cooking.
Making the cob
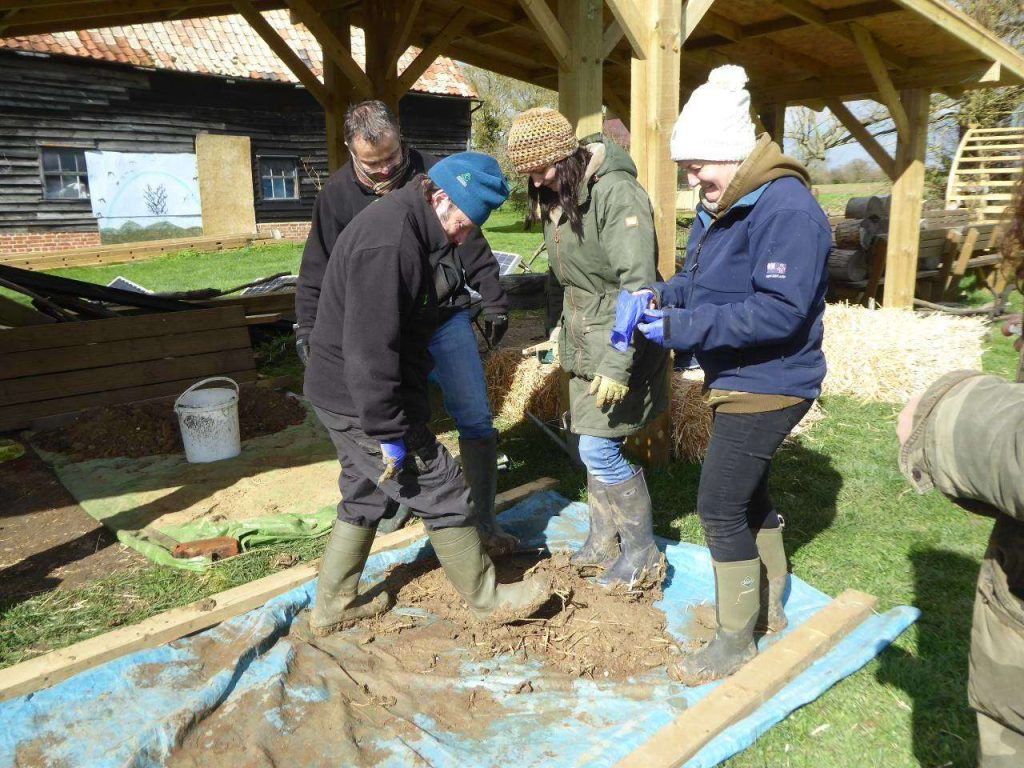
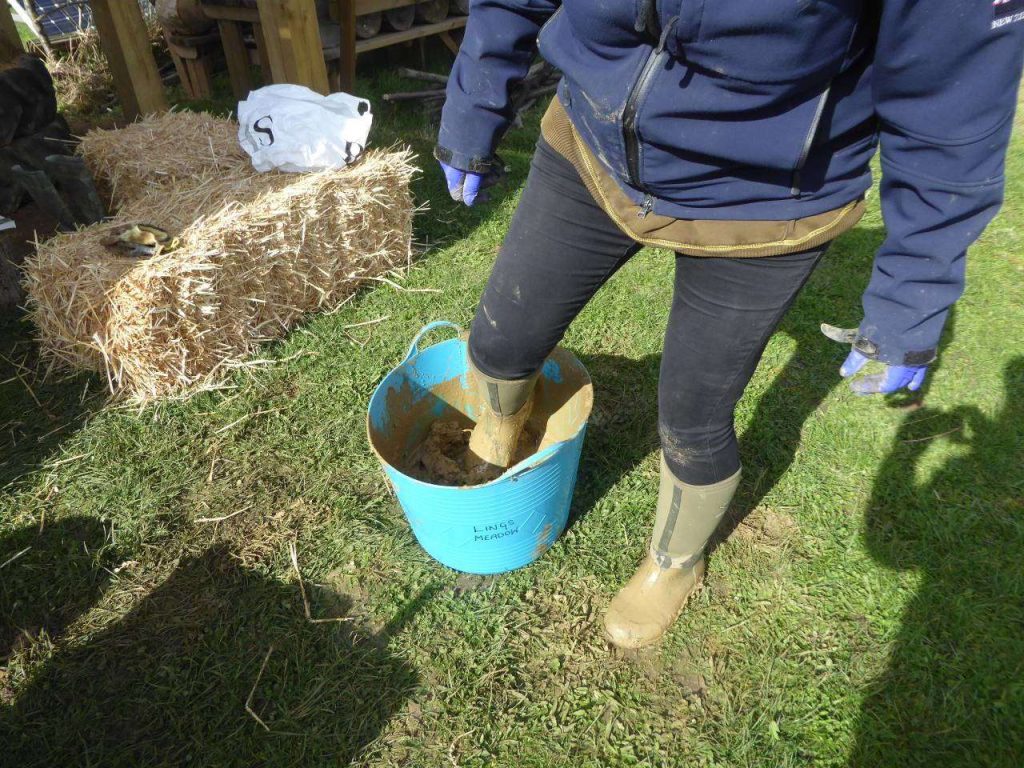
stomping the ingredients 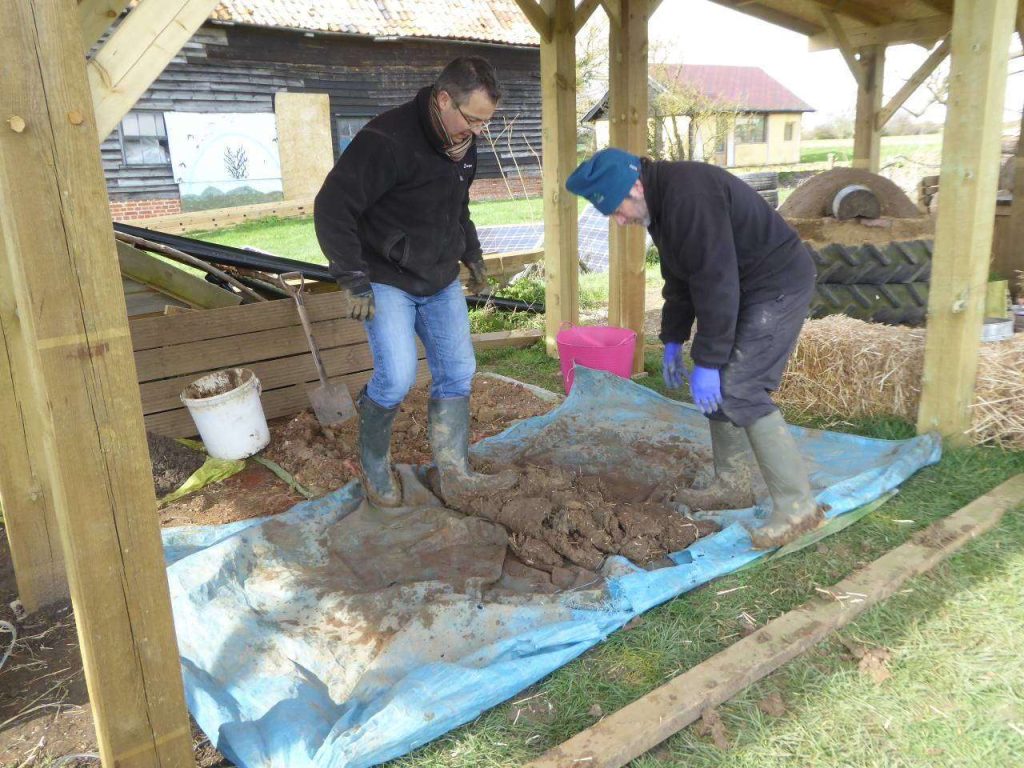
rolling the cob
Cob is a mixture of clay, hoggin (gritty earth) and straw. The straw acts like animal hair in wattle and daub and holds the earth mixture together. We used an empty bucket as a measure for the components of the mix, and made the cob on a tarpaulin.
Our cob mix included 1 bucket of hoggin, one bucket of raw clay (dug up just a few metres away from the oven!) and three handfuls of straw. With the addition of a little water this seemed to work for us, but your mixture might be different depending upon the type of earth and the level of moisture that you have in your garden when you build. The easiest way to mix the components together is with your feet. A good pair of wellies comes in handy here. Once you have squished the hoggin, clay and straw together a bit, take the corners of one end of the tarpaulin and take them across to meet the corners of the other side. This will roll the mixture into a sausage shape that can then be stomped on some more (uncover the sausage first!) Do this about three times depending upon your mix. To test whether it is ready yet, take a small handful of the cob and drop it from about waist high onto the tarpaulin. If it slumps slightly but holds its shape it is probably ready to use. If it is a bit dry still, add a little water. If too wet, add a little more hoggin, and clay. Mix well, and test again.
The cob layer
adding the cob layer 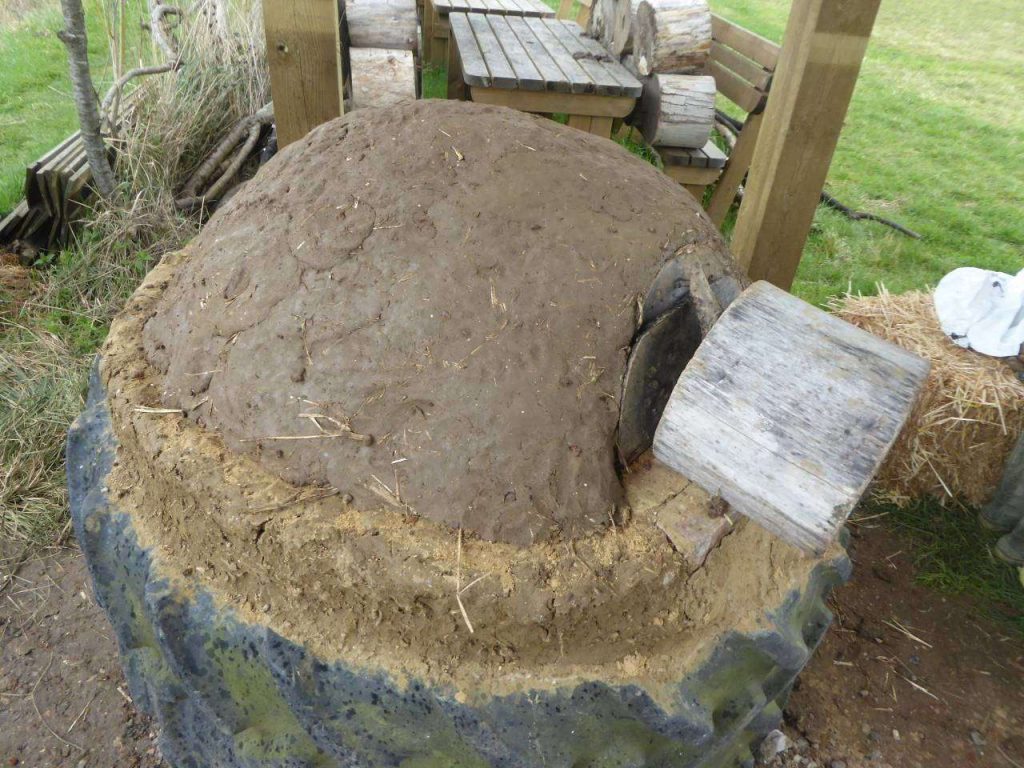
completed cob layer
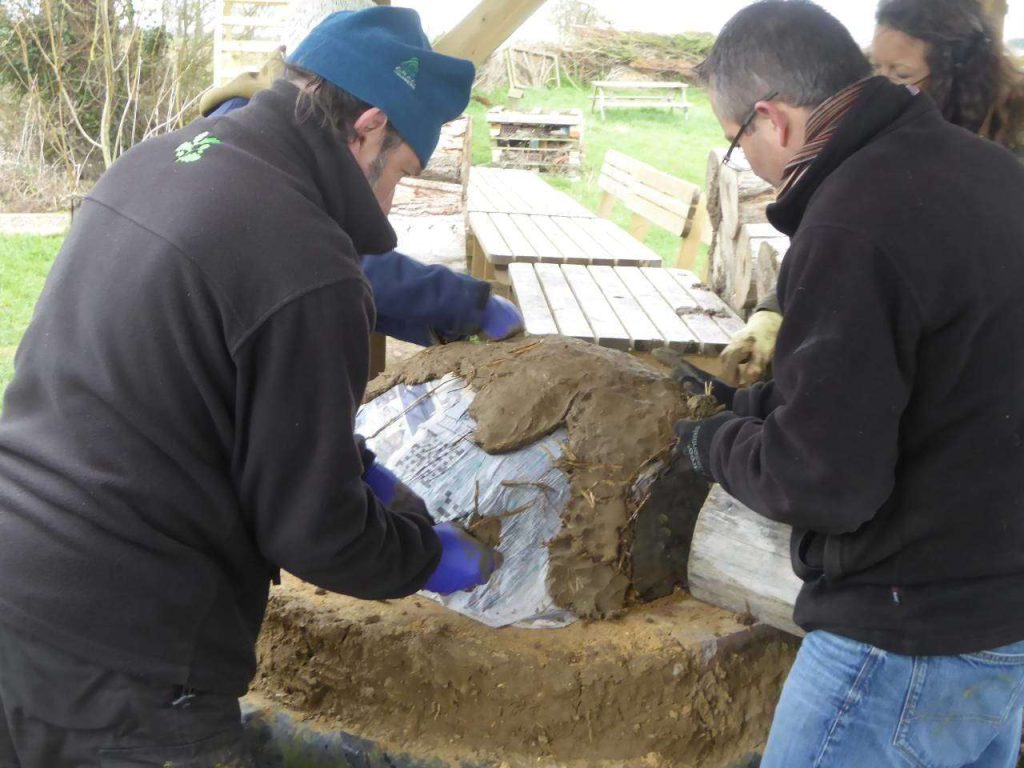
We built up a layer of cob from the base of the oven upwards over the dome, a few inches at a time. This was repeated three times, so in the end we had a cob oven which was about three inches thick across three layers blended together. We made sure that the door for the oven was in place and took the cob up to its edge. This created a doorway. The door will stay in place until the cob dries.
Top coat of clay render
mixing the clay and water 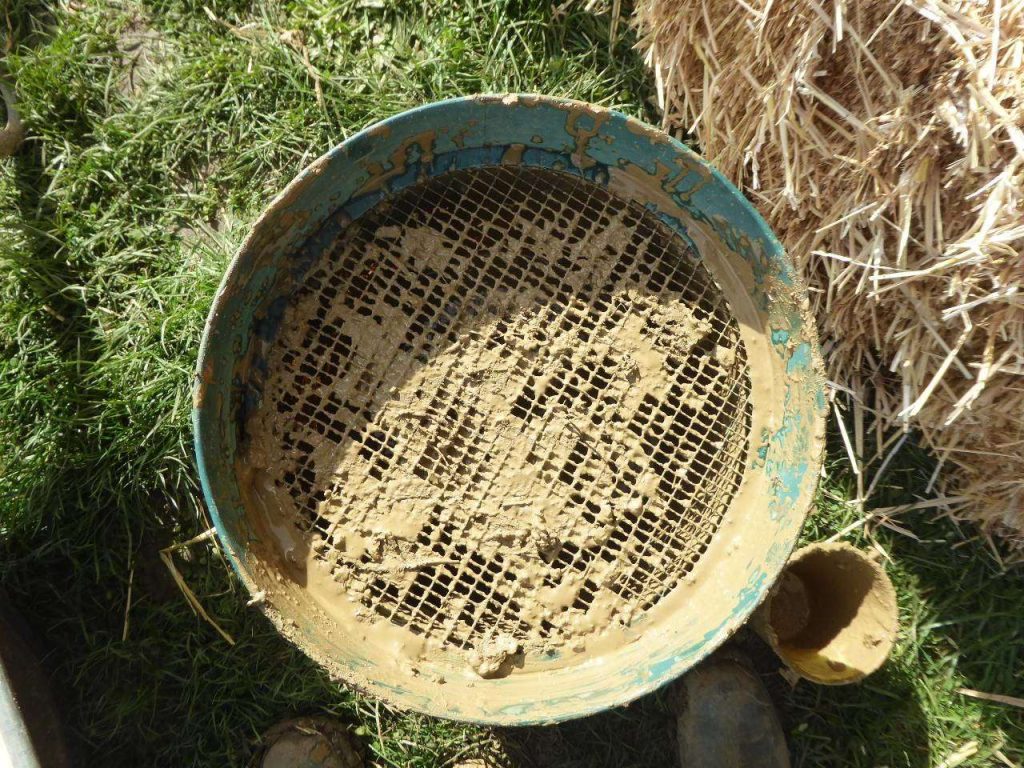
sieving the clay 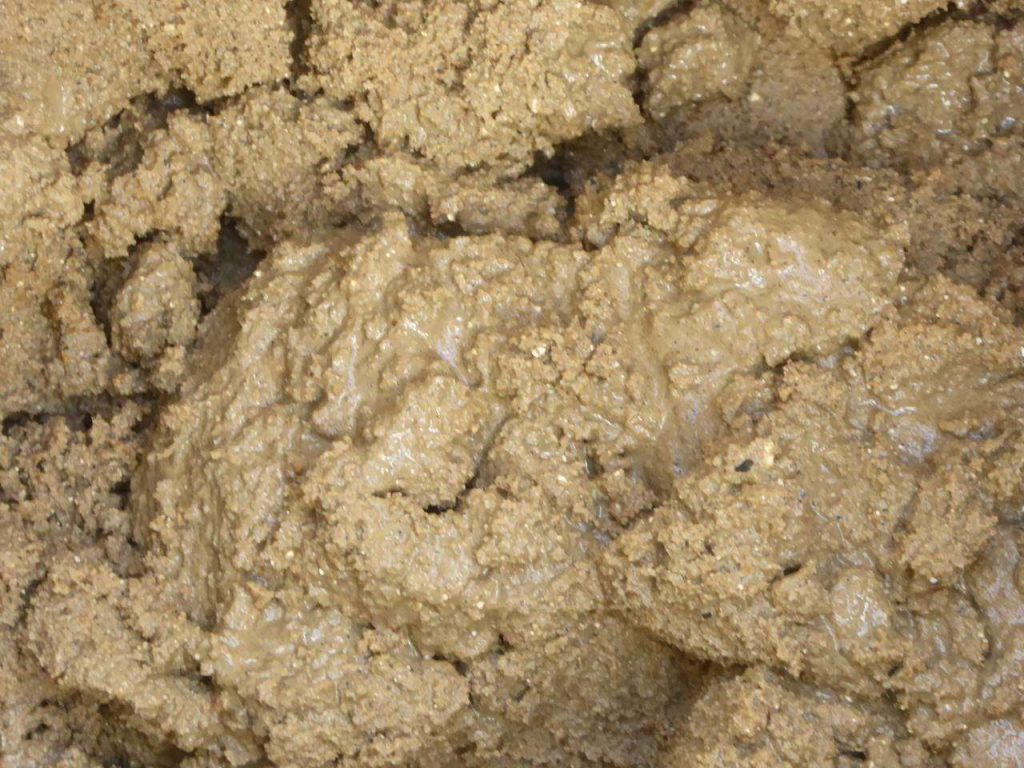
clay render mix 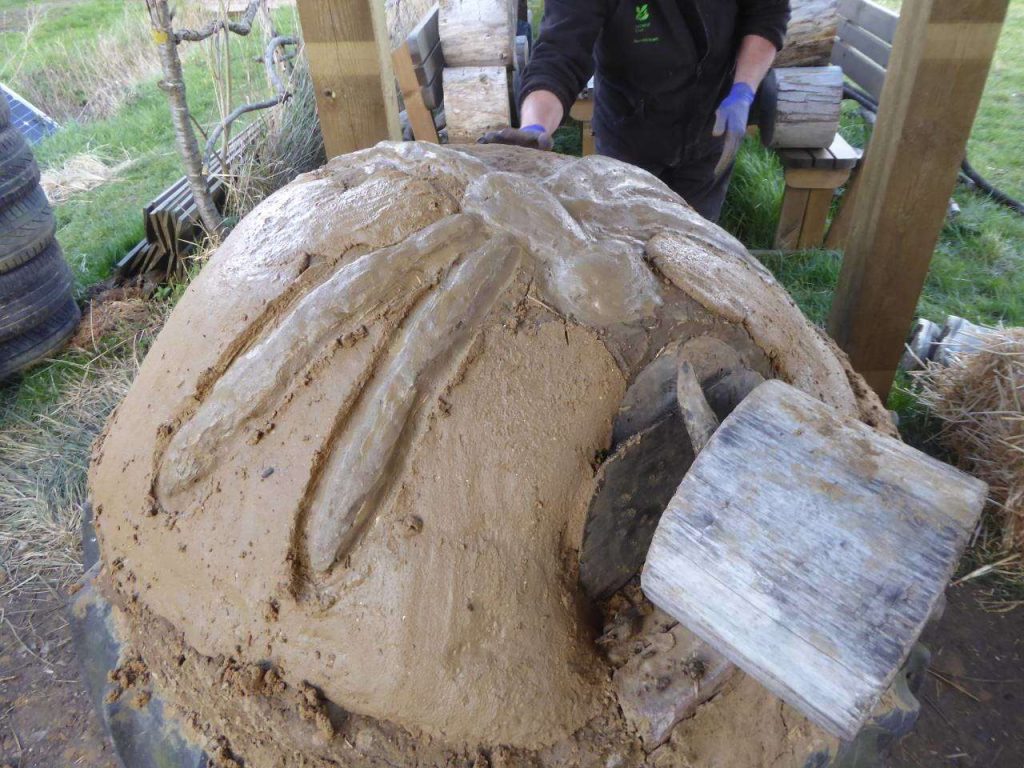
clay render top coat with dragonfly
The final layer is a sacrificial top coat of clay render. The raw clay was soaked and then the resulting clay/water mix was run through a garden sieve to remove any lumps and stones. We then used five parts sand to one part clay to make the render. The top coat needs to be about 1cm thick and will protect the cob. We took the time to add a dragonfly decoration at this point to finish off our oven.
Finishing off
Depending upon the weather and where the oven is positioned, it will take about three or four weeks to dry completely. You want it to dry slowly and evenly to prevent cracks so you might need to mist the oven with water if the weather is warm. We have a brick ledge at the front of the oven and we know that this sucks moisture out of the cob around it whilst things are drying out. We will mist this area as we know that it is likely to crack.
Once your cob oven is dry you can remove the door and scoop out the sand inside. The newspaper layer will still be stuck to the cob on the inside of the oven but will burn off when you light your first small fire.
Protecting your oven

our new camp kitchen building providing a roof
We have built our oven underneath the permanent roof of our new camp kitchen building. This will protect the oven from the worst of the weather, but we will also add shelter of some form around its sides to stop any driving wind and rain.
Our first oven had a simple timber roof over the top of it, but you could also use tin, or a tarpaulin.
Time for pizza!

finished pizza oven 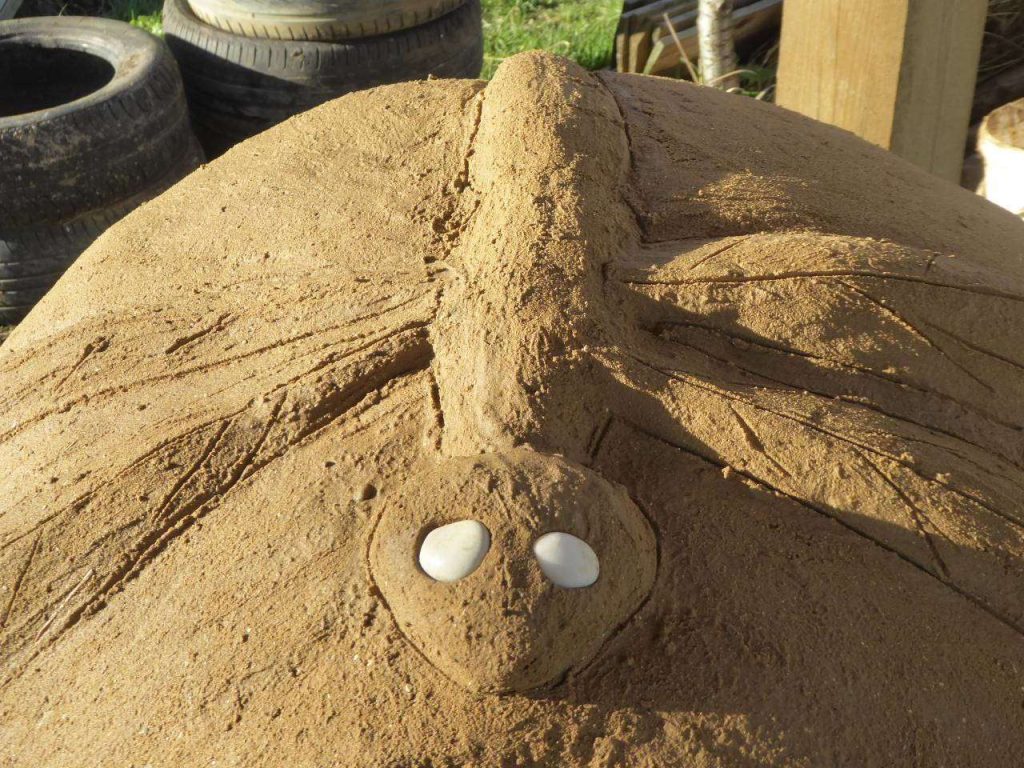
dragonfly decoration
So now you have done all the hard work you can enjoy your oven. All ovens will be slightly different, and the weather conditions make a difference too to the time that it takes to heat them and then cook the pizzas. We found that our old oven took about 40 minutes to heat up, using three towers of kindling (arranged like an open ‘Jenga’ tower). It would then cook pizzas in about 90 seconds and stay hot enough to cook about 8 pizzas (each one taking about a minute longer than the last) before we needed to boost the heat with another tower of kindling. I am sure that the new one will be slightly different as it is a bit bigger.
Experimenting is the best bit about clay ovens, so good luck and have fun!